How to Prime Your Miniatures for Wargaming (and Why It Matters)
- CHILLCON

- Aug 8, 2025
- 4 min read
Updated: Aug 10, 2025
Whether you're assembling your first Warhammer squad or diving into a historical tabletop campaign, priming your miniatures is a critical step that can make or break your paint job. Done right, it sets the stage for smooth application, rich color, and durability. Done wrong—or skipped entirely—it can lead to a frustrating, flaky mess. After some time if your model are gaming pieces then it could have chance of rubbing off.
Multiple Golden Demon winner legendary painter David Soper does not use primers to paint his miniatures but David is mainly a competition painter, check out his multiple blog posts here about his epic work.

Let’s break down what priming is, why it’s essential, and how to do it properly for wargaming miniatures.
What is Priming?
Priming is the process of applying a base coat—usually a matte spray or brush-on paint—to your miniatures before painting. This gives your paint something to grip, prevents chipping, and ensures the true color of your paints comes through.
Think of it as laying a foundation. Just like you wouldn’t paint a wall without primer, you shouldn’t paint miniatures without one either.
Why Priming Matters?
Adhesion: Miniature paints are formulated to be thin and smooth. Without primer, they may slide off smooth plastic or metal surfaces.
Color Accuracy: Primer gives a consistent base tone, helping your paint colors pop and behave predictably.
Durability: Properly primed minis hold paint better, reducing chips from handling during games.
Detail Preservation: The right primer preserves fine detail, while too many layers—or the wrong application—can obscure it.
Types of Primers
There are three main kinds of primer used in miniature painting:
1. Spray Primers (Aerosol)
Pros: Fast, even coverage; ideal for large batches.
Cons: Weather-sensitive; requires good ventilation.
Popular Brands: The Colour Forge, Citadel, Army Painter, Tamiya.

2. Brush-On Primers
Pros: Great for indoor use, precise application.
Cons: Slower; risk of brush strokes if applied too thickly.
Good Picks: Vallejo Surface Primer, Reaper Master Series.
3. Airbrush Primers
Pros: Highly controllable, smoothest finish.
Cons: Requires an airbrush setup and learning curve.
Go-To Brands: Badger Stynylrez, Vallejo.
Choosing a Primer

White or Light Gray: Great for bright, vivid color schemes and highlights.
Black: Ideal for dark, gritty, or shadow-heavy schemes. Forgiving for beginners.
Neutral Gray: Best of both worlds—versatile and balanced.
Zenithal Priming: A technique where you prime black, then spray white or light gray from above to pre-shade the model and enhance depth.
A Step-by-Step: How to Prime Your Miniatures
Helpful tools you will need
-Primer (spray, brush-on, or airbrush)
-Gloves or tweezers
-Miniature holders (optional but useful)
_Ventilation (especially for spray primers)
_Newspaper or a drop cloth
Instructions:

1. Clean the Miniatures
Wash resin or plastic minis in warm, soapy water and gently scrub with a toothbrush to remove mold release agents. Let dry fully.
They are many videos on YouTube for this. Here is one just as an example:https://youtu.be/WH9Px9P1zhk?si=eZ3cGGZ8PtmTOTZR
2. Mount Your Models
Stick them on a painting handle, cork, or even bottle caps with blue tack. This helps keep your hands clean and prevents touching the surface.
3. Shake the Primer Well
Especially for sprays—shake vigorously for 1–2 minutes to mix thoroughly.
4. Apply Primer in Thin Layers
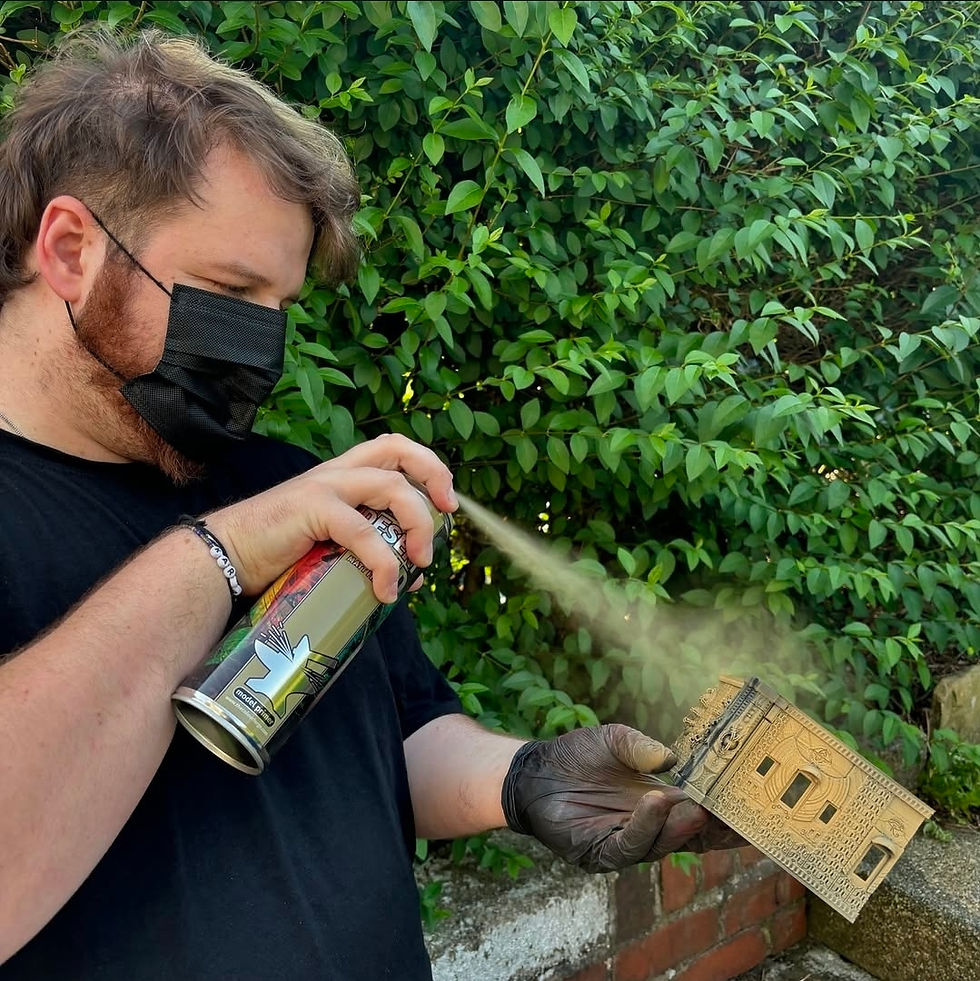
Spray: Hold the can 6–12 inches away and use short bursts. Keep the can moving to avoid pooling.
Brush-on: Use a large soft brush and thin the primer if needed.
Airbrush: Use slow, even passes and thin the primer as directed.
5. Let It Dry Completely
Give it at least 30 minutes to an hour (longer if humid). A fully dry primer will feel smooth and matte, not tacky. Some people leave them longer but always read the label of your primer.
Pro Tips for Priming Success
Test First: If you’re unsure how a primer reacts to a surface, try it on a spare Models or something of similar material.
Control the Environment: Avoid humid or very cold days for spray priming—it can cause frosting or rough textures.
Don’t Overdo It: Better to do two light coats than one thick one.
Community quote
beshbashbosh - CHILLCON Community member
" I’ve used all three methods (aerosol, brush, airbrush) and I mostly gravitate to airbrush but using aerosol more frequently for bigger jobs to get done quicker.
I wanted to add another brush primer I found is really good, the monument hobbies **brush on primer** (different to the bigger bottle primer meant for airbrush). I’ve found this really good compared to other primers that can be brushed on, but are more made for air brush so aren’t that great. Another use for these is for quick touch ups in small areas, something that has made having a black and white tube of this primer always on hand."
Final Thoughts
Priming your miniatures isn’t the most glamorous part of the hobby, but it’s absolutely essential for achieving high-quality, long-lasting paint jobs. Whether you're prepping elite Space Marines or a horde of goblins, a good primer gives you the best canvas to work with.
So grab your minis, pick your primer, and get ready to bring your army to life—one well-prepped figure at a time. Peace Spud ✌️


Comments